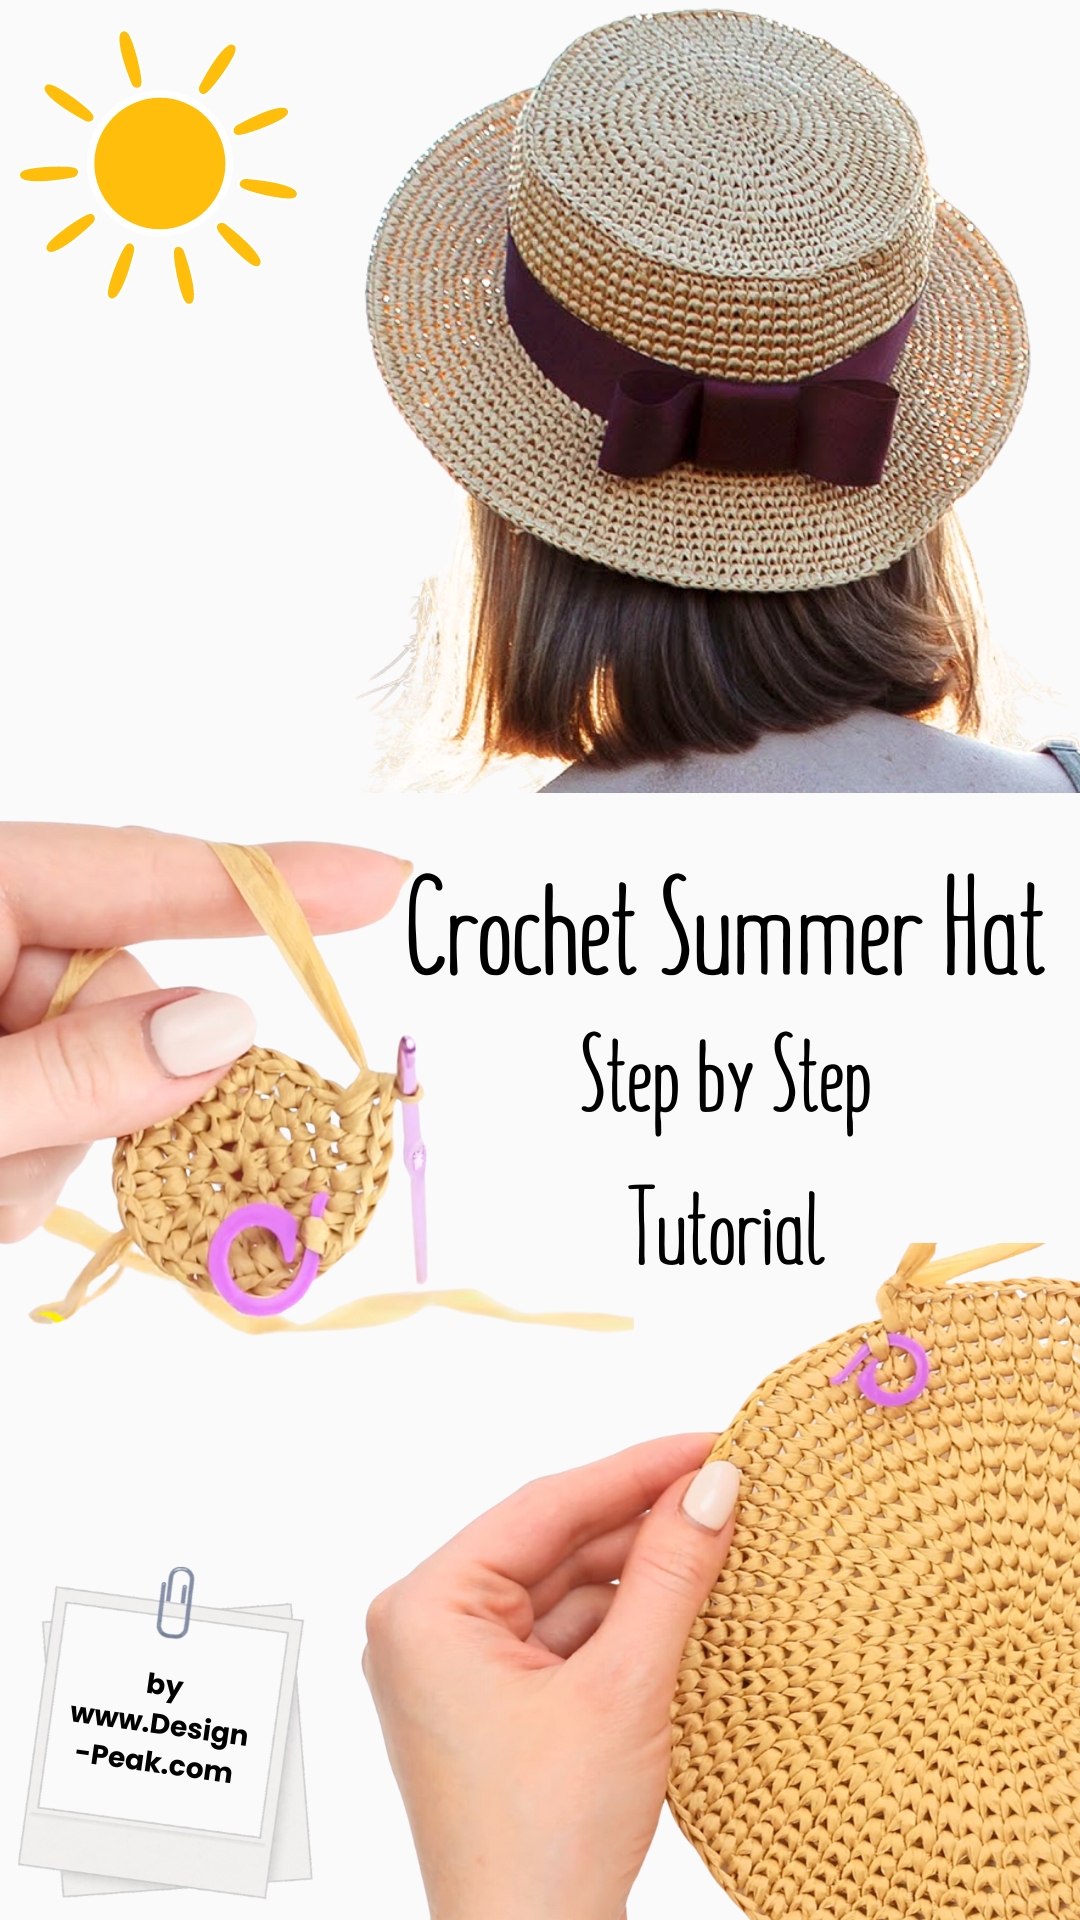
Step by Step Guide: Crochet Summer Hat
Hey there, crochet enthusiasts! Summer’s here, and what better way to soak up the sun than with a fabulous, hand-made crochet summer hat? Picture yourself lounging by the pool, cocktail in hand, with a stylish hat that you crafted yourself. Sounds dreamy, right? Let’s dive into this fun and easy project that’ll have you ready to show off your crochet skills in no time. And guess what? We’ve got a video tutorial that covers all the nitty-gritty details. So, grab your hooks and let’s get started!
Step 1: Gather Your Materials
Before we jump into the yarny goodness, let’s make sure you have everything you need:
- A crochet hook (size H/8 or 5mm works well)
- Cotton yarn in your favorite summer colors (you’ll want a breathable material)
- Scissors
- A tapestry needle
- Stitch markers (because who doesn’t love tiny, helpful accessories?)
Step 2: Start with the Magic Circle
Ah, the magic circle—sounds mystical, doesn’t it? Well, it kind of is! This technique will ensure your hat has a neat, hole-free top. To create your magic circle, simply wrap the yarn around your fingers to form a loop, insert your hook, pull up a loop, and crochet a few single crochets into this loop. Tighten it up, and voilà! Magic.
Step 3: Increasing Your Way to Glory
Now that you’ve got your magic circle, it’s time to start increasing. For the uninitiated, this just means adding more stitches to make your hat wider. Crochet two stitches in each stitch around. It’s like a party where everyone gets a plus one! Continue this process, increasing at regular intervals to shape the crown of your hat. Trust me, it’s easier than it sounds. And if you’re still puzzled, our video tutorial has got your back.
Step 4: The Brim Adventure
Once the crown fits nicely on your head (or the head of your favorite summer hat model), it’s time to work on the brim. This is where the real magic happens. Crochet in the round without increasing until the hat is deep enough to cover your noggin. Then, start adding a few stitches here and there to create a lovely, floppy brim. This part is all about your personal style. Want a wide brim? Go wild with those increases! Prefer a subtle brim? Keep it chill.
Step 5: Finishing Touches
You’re almost there! Fasten off your yarn and weave in those pesky ends with a tapestry needle. Now, this step might sound boring, but trust me, it’s crucial. No one wants a hat that unravels mid-summer picnic. Add a cute ribbon or some crochet flowers if you’re feeling extra crafty. And there you have it—a perfect summer hat, handmade with love and a touch of humor.
Why a Crochet Summer Hat?
Why not? It’s the ultimate summer accessory. Not only does it protect you from the sun, but it also shows off your creative flair. Plus, it’s an eco-friendly alternative to store-bought hats. So, not only are you looking good, you’re doing good. Go you!
Watch the Full Tutorial
Still have questions? Don’t worry! We’ve got a comprehensive video tutorial that walks you through each step. Click below to watch and follow along. You’ll be a crochet summer hat pro in no time!