Teddy Bear – Step by Step Crochet Tutorial
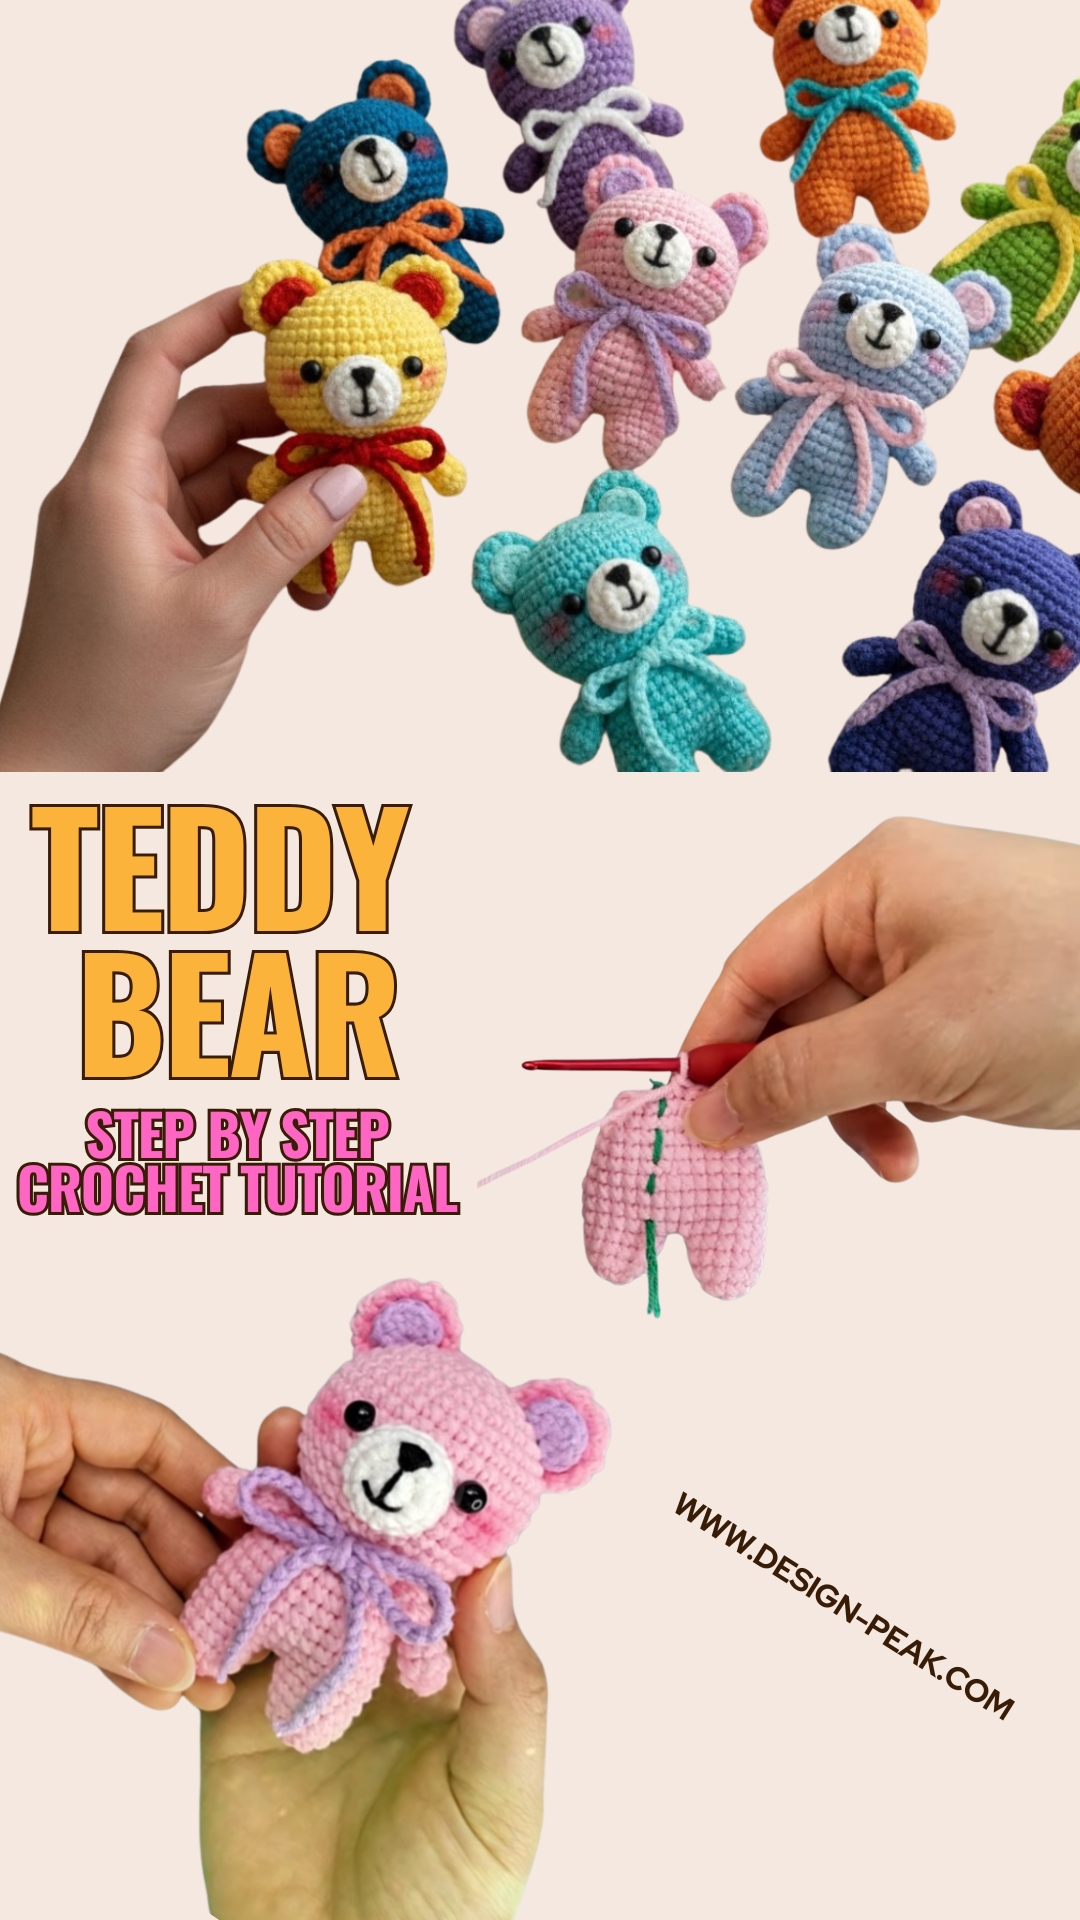
This video show you how to crochet a cute teddy bear with step-by-step tutorial. You can use this amigurumi bear as a keychain, bag charm, gift… Material: To crochet this amigurumi teddy bear crochet pattern.
- I use milk cotton yarn 5 ply (cotton 80% & acrylic 20%), 125g ≈ 220m
- Crochet hook size 2.75mm
- Eyes 7mm
- Yarn needle
- Stuffing
- Stitch markers: use a stitch marker to mark the end of each round
- Scissors
- Straight pins
There’s something undeniably comforting about handmade teddy bears — especially the kind stitched together slowly with soft yarn, warm tea nearby, and a quiet evening soundtrack in the background. Crocheting your own teddy bear is more than just a craft project; it becomes a cozy little ritual that results in something heartfelt, personal, and timeless.
Whether you’re new to crochet or already familiar with the rhythm of looping stitches, teddy bears are one of the most rewarding projects to make. They’re charming, customizable, and filled with personality. From choosing the yarn color to deciding on tiny details like scarves, bows, or embroidered noses, every bear ends up completely unique.
Most crochet teddy bears are created in separate pieces — the head, body, arms, legs, and ears — which are later assembled together. The process itself feels wonderfully meditative. You slowly watch a pile of yarn transform into a tiny companion with character and warmth. Some makers prefer classic neutral tones for a vintage-inspired bear, while others go playful with pastel shades or textured boucle yarn for extra softness.
One of the best parts about crocheting teddy bears is how adaptable the project can be. You can make miniature pocket-sized bears for gifts, larger cuddly versions for children’s rooms, or elegant decorative bears with embroidered clothing and accessories. They also make beautiful handmade presents for baby showers, birthdays, holidays, or simply as keepsakes made with love.
While crochet patterns can sometimes feel intimidating in written form, don’t worry — the full step-by-step tutorial for this teddy bear is available in the embedded video included in this blog post. Watching the process visually often makes everything feel much easier and more approachable, especially when learning shaping techniques, assembly, or finishing details. The video walks through each stage carefully so you can crochet along at your own pace.
Creating a crochet teddy bear also encourages you to slow down a little. It’s the kind of project perfect for rainy afternoons, quiet weekends, or evenings spent curled up on the couch. There’s comfort in the repetition of stitches and satisfaction in seeing your bear slowly come to life row by row.
If you’re preparing your materials before starting, consider using soft plush yarn for an extra cuddly finish or classic cotton yarn for a more defined stitch texture. Small safety eyes, fiber filling, stitch markers, and a comfortable crochet hook will also help make the process smooth and enjoyable. And of course, don’t forget to add your own personal touch — that’s what makes handmade creations so special.
By the time your teddy bear is finished, it becomes more than just a crochet project. It turns into something with warmth, charm, and a story stitched into every row. So grab your yarn, settle into your favorite cozy corner, and press play on the tutorial video below — your handmade teddy bear adventure is about to begin.
Video: