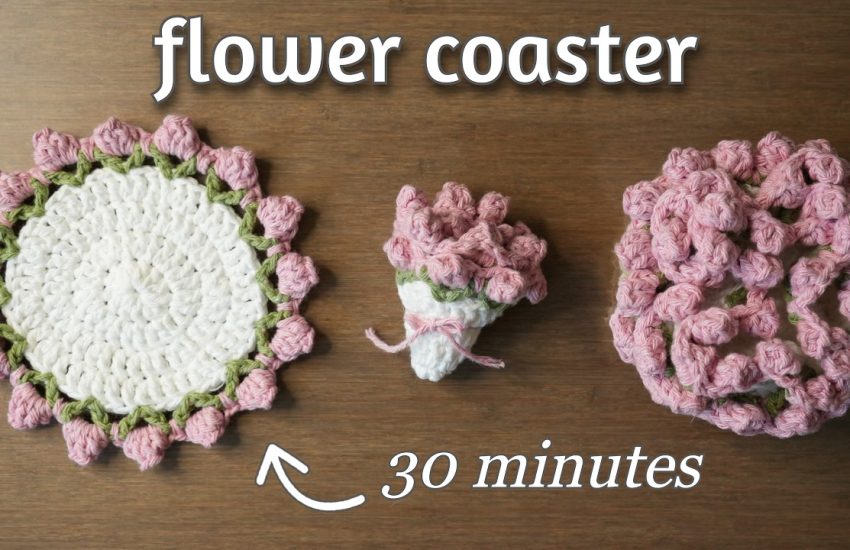
Unleash Your Creativity with Crocheted Rose Bouquets
Introduction:
Crocheting is a craft that transcends age, offering a creative outlet and a sense of accomplishment to all who embrace it. If you’re looking for a delightful and fulfilling project, crocheting a rose bouquet is the perfect choice. In this step-by-step guide, we will walk you through the process of creating your very own exquisite crocheted rose bouquet.
Section 1: Gather the Supplies for a Beautiful Journey
Before you embark on this creative endeavor, gather all the necessary supplies. Prepare yourself for a journey of creativity and beauty with these essentials:
- Crochet Hooks: Choose crochet hooks that feel comfortable in your hands, allowing for ease and enjoyment during the process.
- High-Quality Yarn: Select soft, luxurious yarn in a variety of colors for your roses. Opt for shades that inspire and evoke emotions, making each rose unique and special.
- Precision Scissors: Have a pair of sharp scissors on hand for cutting yarn with precision and efficiency.
- Essential Tools: Keep a tapestry needle nearby for weaving in loose ends and assembling the bouquet. You may also need floral wire and floral tape to create sturdy stems and give your roses a realistic touch.
Section 2: Crafting Timeless Roses of Elegance
Now, let’s dive into the enchanting process of crocheting roses that will add beauty and charm to any space:
- Getting Started: Begin by creating a slip knot, the gateway to your crochet journey.
- Building the Foundation: Form a foundation chain, allowing your stitches to lay the groundwork for the petals to come.
- Petals Taking Shape: Crochet the petals by strategically combining stitches, chains, and skips. Each stitch adds depth and beauty to the unfolding rose.
- Shaping the Rose: Turn your work and shape the rose by using various crochet stitches, such as single crochets, half-double crochets, double crochets, and triple crochets. Follow the pattern and watch as your rose blooms before your eyes.
- Finishing Touches: Complete your rose by slip stitching into the first stitch of the row. Secure any loose ends, ensuring a polished and professional look.
Section 3: Bringing Artistry to Life: Assembling Your Bouquet
Elevate your crocheted roses to a new level by assembling them into a stunning bouquet:
- Crafting Leaves: Crochet leaves separately, using patterns that mimic nature’s delicate touch. Experiment with colors that complement your roses, enhancing the visual appeal of your bouquet.
- Assembling the Roses: Attach wire stems to the back of each rose using a tapestry needle. Secure them in place with floral tape, giving your roses a natural and realistic appearance.
- Create a Harmonious Arrangement: Arrange your crocheted roses and leaves, allowing your creativity to guide you. Play with different positions and angles until you achieve a visually pleasing arrangement. Use floral tape to bind the stems together, ensuring the bouquet maintains its beauty and structure.
Conclusion:
Crocheting a rose bouquet is a captivating and rewarding endeavor that allows you to express your creativity and create timeless beauty. By following this step-by-step guide, you can craft a stunning bouquet that will add elegance and charm to any space. Embrace the journey, explore your creativity, and enjoy the process. With each crocheted rose, you bring artistry to life and create a masterpiece that will be cherished for years to come. Happy crocheting!


